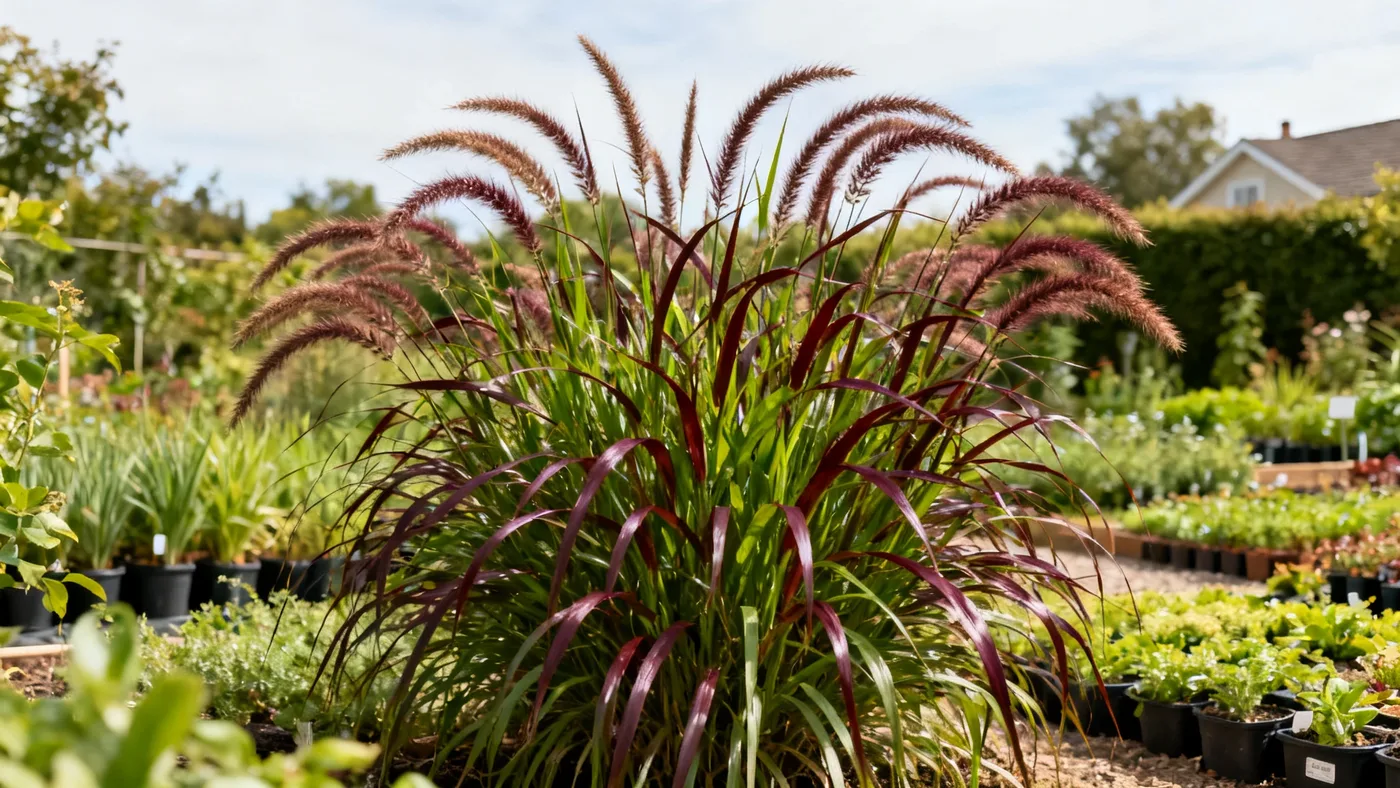
How to Divide and Propagate Karley Rose Fountain Grass
Division is the most reliable way to expand your Karley Rose Fountain Grass collection and rejuvenate aging clumps. Since this cultivar produces little to no viable seed, dividing established plants is how you propagate it. A mature clump that has been growing for 2-3 years gives you multiple divisions, each capable of blooming in its first year and reaching full size within another 2 years.
This guide walks you through the timing, tools, and technique for successful division, whether you are starting a new planting area or refreshing an existing plant.
When to Divide Karley Rose Fountain Grass
Timing matters more than most gardeners realize. Divide your plants in spring, after your last frost date, and before hot weather sets in. This timing allows new root growth to establish before summer heat stress and gives the divisions a full growing season to strengthen before winter.
In USDA zones 6-9, spring means mid-April through May in most regions. Check your local extension service for your specific last frost date if you are unsure. Dividing too early risks damage to new shoots if a hard frost follows; dividing too late leaves divided plants struggling through peak summer heat.
Clumps that are 5 or more years old, or those that show a dead center or sparse growth pattern, are prime candidates for division. A healthy, vigorous clump is easier to divide than an older, declining one, so do not wait until the plant is failing.
Materials and Tools You Will Need
Gather these items before you begin. Having everything on hand makes the process faster and reduces stress on the plant divisions.
- A sharp spade or shovel with a straight edge for cutting through dense root systems
- A garden fork to help loosen and pry apart root clumps
- Pruning saw or pruners for stubborn, woody crowns if the clump is very mature
- Potting soil or amended garden soil for replanting (well-drained, loamy texture)
- Water source (hose or watering can)
- Newspaper or tarp to contain soil mess and make cleanup easier
- Gloves (ornamental grass blades are sharp and can cut skin)
- Small pots or a prepared planting area where divisions will go
Step-by-Step Division Instructions
Step 1: Prepare the Parent Plant
Cut the entire clump back to 3-6 inches above ground level. This is the same cutback you would do in late winter or early spring anyway, and it makes division easier by removing dense, tall foliage that gets in your way. You will see the crown of the plant more clearly once the dead or dormant leaf blades are gone.
Wait a few days after cutting back before you dig. This gives the plant a moment to respond to the pruning, though division can happen immediately if needed. Water the area lightly the day before you divide to soften the soil and make digging easier.
Step 2: Dig Up the Entire Clump
Use a spade to cut around the perimeter of the clump, roughly 4-6 inches away from the visible stems. Push the spade down and under the clump to sever the root system, then work your way around the plant. Once you have cut all the way around, use the spade and a garden fork to lever the entire clump out of the ground. A mature clump can be heavy and dense, so do not be afraid to use force.
Shake off excess soil gently with your hands or by tapping the clump. You want to see the individual shoots and root divisions clearly. Do not rinse the roots unless you absolutely cannot see the crowns; excess moisture makes the plant harder to work with.
Step 3: Examine the Clump for Natural Division Points
Look at the base of the clump where multiple shoots emerge from the soil. You will likely see distinct sections or crowns that are connected by roots but somewhat separate. These natural divisions are your guide. A clump 2-3 years old typically yields 3-5 viable divisions, while a very large, mature clump can produce 6-10 or more.
Each division should have at least 3-5 shoots and a healthy section of roots. Avoid divisions that are too small; they take longer to establish and bloom reliably. Discard any portions that are blackened, mushy, or show signs of decay.
Step 4: Divide the Clump
Use your hands first. Grasp two sections firmly and try to pull them apart. Many clumps will separate by hand, especially in spring when the roots are starting to grow. If a clump resists, use a sharp spade to cut between sections, or insert a garden fork and gently pry the clump apart. Work slowly to avoid tearing healthy roots.
For very old or woody crowns, a pruning saw may be necessary to cut between shoots cleanly. Make cuts as close to the crown (the base of the shoots) as possible to maximize the root system attached to each division.
Step 5: Trim Damaged Roots and Shoots
Once you have separated the divisions, trim any broken or damaged roots with clean pruners. Prune off any dead shoots at the crown. Healthy divisions show white or pale roots and green or brownish (not black or mushy) shoot bases. A few small roots are okay to trim; focus on removing obviously damaged material.
Step 6: Replant Divisions Immediately
Replant each division right away to prevent the roots from drying out. Divisions can go into pots or directly into garden soil. Space plants 24-30 inches apart, which is the mature width of the cultivar.
Dig a hole large enough to accommodate the roots without crowding. Place the division so the crown sits at or just slightly above soil level; planting too deep can cause rot. Backfill with well-drained soil and water thoroughly to settle the soil and remove air pockets.
If you are potting divisions for a nursery or holding area, use pots at least 1 gallon in size (quart pots are too small for developing a strong root system). Water well and place in a location with full sun.
Step 7: Water and Monitor
Water divisions regularly for the first 4-6 weeks as they establish new roots. Do not waterlog them, but keep the soil consistently moist (not wet). Once new growth appears, usually within 2-4 weeks, you can reduce watering frequency to match the plant's moderate water needs.
Divisions planted in spring will typically show visible new shoots and begin to green up the foliage clump during their first growing season. Full blooming often appears by early summer (June) if the division was strong at the time of division.
Common Mistakes to Avoid
Dividing too late in the season. Wait until spring and after your last frost, but do not delay into mid-summer. Late divisions struggle to root before heat stress kicks in.
Making divisions too small. A division with only one or two shoots is slower to establish. Aim for at least 3-5 shoots per division.
Planting divisions too deep. The crown should sit at soil level, not buried. Deep planting invites rot, especially in poorly drained soil.
Neglecting water after planting. New divisions need consistent moisture for 4-6 weeks while roots establish. Dry soil will kill a freshly divided plant.
Fertilizing too soon. Wait until new growth is clearly visible before applying a light, balanced fertilizer. Feeding a struggling division can do more harm than good.
Dividing dormant or weak clumps. A young, vigorous clump divides and recovers better than an old, declining one. When in doubt, wait another year.
Expected Results and Timeline
A strong division planted in spring should show new shoots within 2-4 weeks. By midsummer, you may see the first flower plumes forming. Do not expect the division to reach its full mature size (24-36 inches tall, 24-30 inches wide) until year 2-3 after division. A division typically grows 6-12 inches per year, so a small starter division takes roughly 2 seasons to fill out a space.
The parent clump, after division, will produce new growth and recover to its previous vigor within one growing season. Do not be surprised if it looks sparse immediately after division; this is normal and temporary.
For more detailed care guidance once your divisions are established, see our complete growing guide. If you want to understand the mature size your plants will reach, read about mature dimensions.
Propagation by Division: Quick Reference
| Step | Timing | Key Action |
|---|---|---|
| 1. Prepare plant | Spring, after last frost | Cut back to 3-6 inches; water lightly one day prior |
| 2. Dig up clump | Immediately after prep | Cut 4-6 inches around the perimeter; lever out and shake off soil |
| 3. Examine clump | On site or at potting bench | Identify 3-5 shoots per division; check for healthy roots |
| 4. Divide clump | Immediately | Pull apart by hand or use spade/fork to separate sections |
| 5. Trim roots/shoots | Immediately | Remove damaged or dead material with clean pruners |
| 6. Replant | Same day if possible | Space 24-30 inches apart; crown at soil level; water thoroughly |
| 7. Water and monitor | First 4-6 weeks | Keep moist, not wet; expect shoots in 2-4 weeks |
Troubleshooting Division Problems
Division fails to sprout. The crown may have been planted too deep, or roots may have dried out before planting. In future divisions, ensure the crown sits at soil level and plant immediately after separating the clump.
New shoots appear but do not grow. This often signals inconsistent watering, especially if the soil dried out during establishment. Increase watering frequency and add a 1-2 inch mulch layer to help retain moisture.
Divisions rot at the crown. Overwatering or waterlogged soil is the culprit. Ensure soil drains well and reduce watering frequency once the division is 4-6 weeks old and showing vigorous growth.
Parent clump looks brown or weak after division. This is a normal stress response. Continue regular watering and avoid fertilizing for 4-6 weeks. The clump will green up and recover within 1-2 months as new growth emerges from the remaining roots.